Alexa, play “It’s the Most Wonderful Time of the Year.”
That’s right! Spring is here, the birds are chirping, and the pool is ready to lift its cover. It’s time to open your inground pool!
Preparation Before Opening the Pool
Knowing when to open the pool is important so we don’t open too soon or too late. However, the rule of thumb is that the earlier, the better.
Examine the equipment pad a couple of days before your opening to identify any initial winter damage or wear and tear.
Lubricating o-rings and gaskets and checking union fittings and pipes for water leaks is recommended. This will be much more challenging once the pool is up and running.
Also, your water testing kit should be ready with refilled reagents for the season.
Chemicals Needed to Open the Pool
Often, pool stores and some big box stores will try to sell a pool start-up kit containing algaecides, shock, oxidizers, and other magical cures. These are largely unnecessary and, dare I say, a waste of money!
All you need to open the pool are the recommended chemicals used during the season. There is no difference between “opening” chemicals and daily-use chemicals.
It is a good idea to have these pool chemicals on hand:
- Chlorine – Preferably liquid chlorine
- Muriatic Acid to lower pH
- Borax to raise pH if necessary
- Calcium chloride to raise calcium hardness (CH) if necessary
- Baking soda to raise total alkalinity (TA) if necessary
- CYA stabilizer to raise cyanuric acid (CYA) if necessary
Steps to Opening Your Pool for the Season
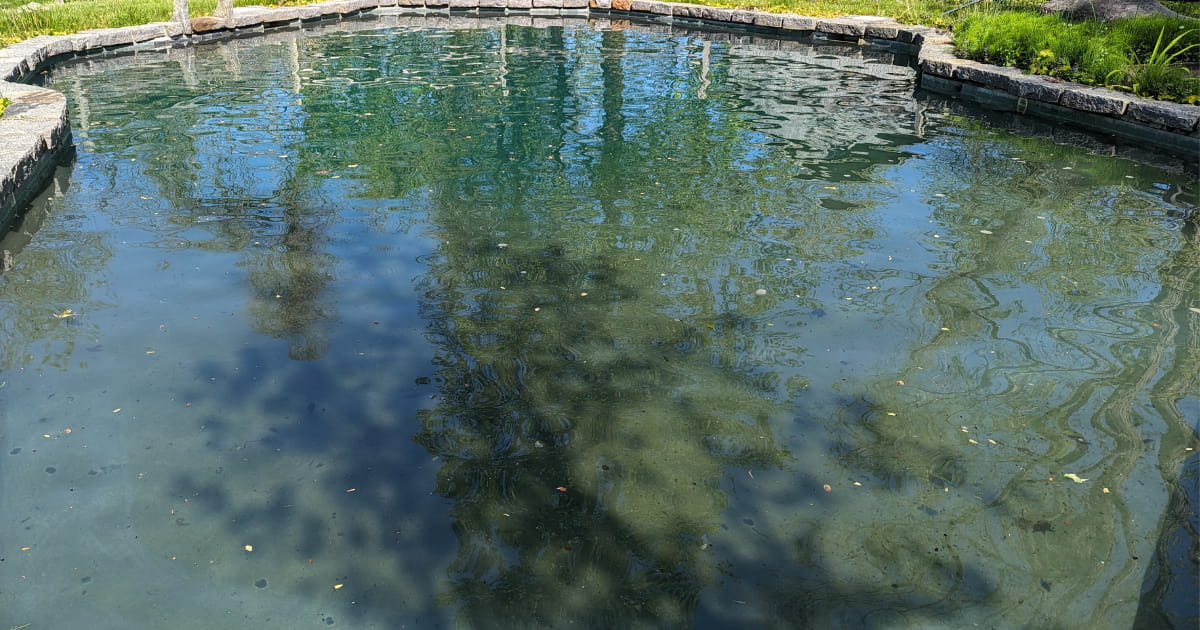
Hopefully, your work to close the pool has paid off, and the water doesn’t look too bad.
It’s not going to be crystal clear, either. Remember, the water has been stagnant for months, so seeing the bottom tough with all the dirt and grime.
Remove the Pool Cover
Depending on how heavy your cover is, this may require more than one person.
Before removing it, sweep away any sticks and debris that survived the fall and winter on the cover. If you have a solid cover, remove any water on top with a submersible pump. You can let it go into the pool, but chances are that the water is super dirty.
Remove the necessary clamps, springs, or anything else tied down.
After the cover is off the pool, lay it flat in your yard or driveway to check for holes or tears and repair it if necessary.
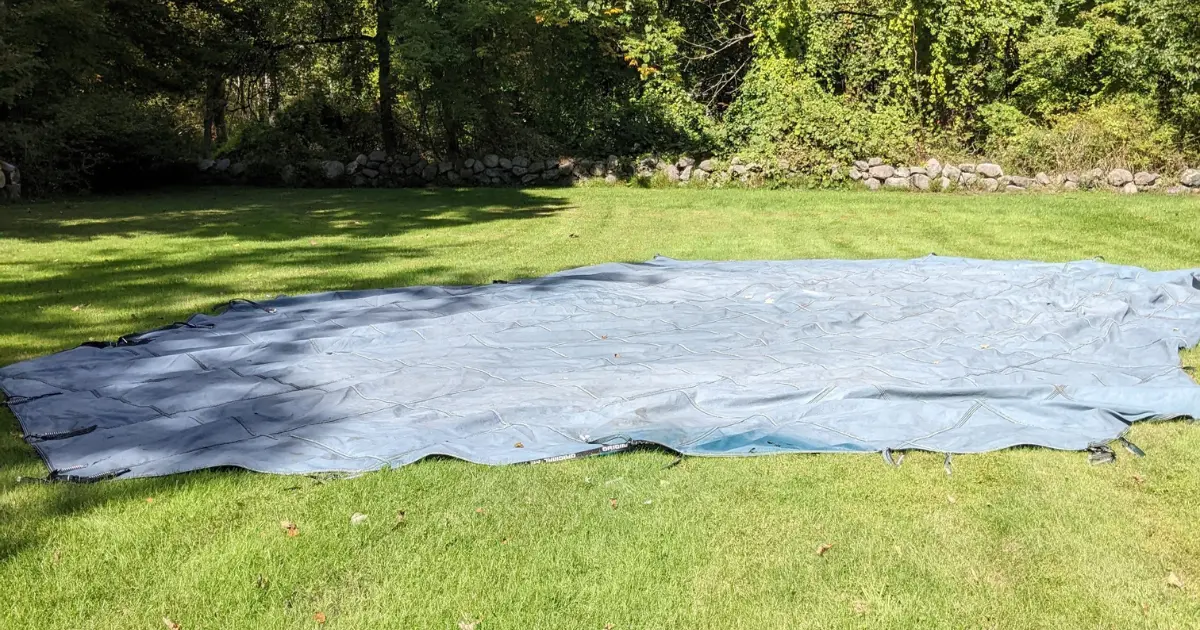
Before storing, wash it down with a hose. You can also use a mild detergent or soap to remove excess gunk.
Fill Up the Pool if Necessary
Over the winter, water might not have filled up to your normal waterline. This is more common with solid covers.
If you need more water, fill the pool with a hose until it reaches your targeted waterline, which is usually halfway up your pool’s skimmer.
Reattach Ladders and Other Pool Equipment
At this point, ladders, diving boards, handrails, and other accessories stored away for the winter can be reinstalled.
Give them a good cleaning beforehand so nothing unexpected gets into the water first!
Remove Plugs and Gizzmos
Remove any winterizing plugs on the return jets and gizzmos in your skimmers. You may see and hear water gurgling when removing these plugs, which is normal.
Reinstall the return jet eyeballs. When the pump is on, and water starts flowing, the eyeball directions may need to be rearranged to your liking.
Turn on Your Pool Equipment
Before turning the pool pump on, reapply the filter’s pressure gauge and all plugs, preferably with threaded seal tape. This includes the sight glass and anything else unscrewed during the winter. The filter’s air relief valve should also be open.
Ensure all pool valves and ports are fully opened. If your pump needs to be primed first, now would be the time to do it.
If RV antifreeze is poured into the pipes over the winter, feel free to have the filter first set to WASTE to ensure that it doesn’t go back into the pool. If it does, however, that is not a big deal.
Otherwise, set your filter setting on the multiport valve to FILTER and turn the pump on.
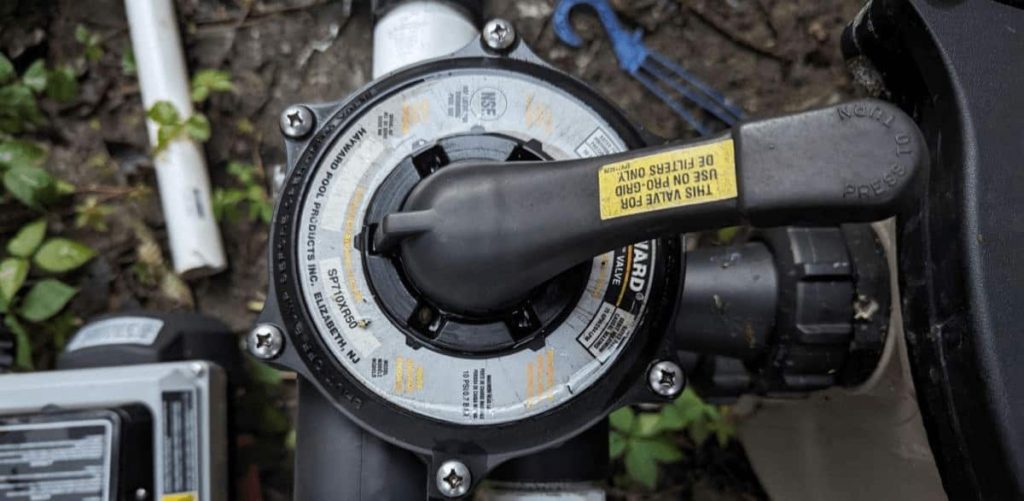
After the filter has filled with water and the air relief valve is spewing water from the top, close it. If all goes well, your PSI should be in a “normal” range, and you should be ready.
At this point, diatomaceous earth (DE) filter owners should fill it with DE powder through the skimmer.
If you have a heater, this can also be turned on at any point.
Skim, Brush, and Vacuum The Pool
It’s time for the pool cleaning! Whether you have a pool robot or not, manual pool cleaning might be better initially. to remove all the leaves and bigger debris accumulated throughout winter.
First, use your skimmer net and telescopic pole to skim the pool surface and floor to remove the larger debris.
Next, it’s time to attach the brush to the pole and give the walls, floor, and steps a deep sweep. Dirt and particle sediments should be disturbed at this point.
Your water may get a little dirtier, but that is the goal. We want the filter to do its job and catch this stuff!
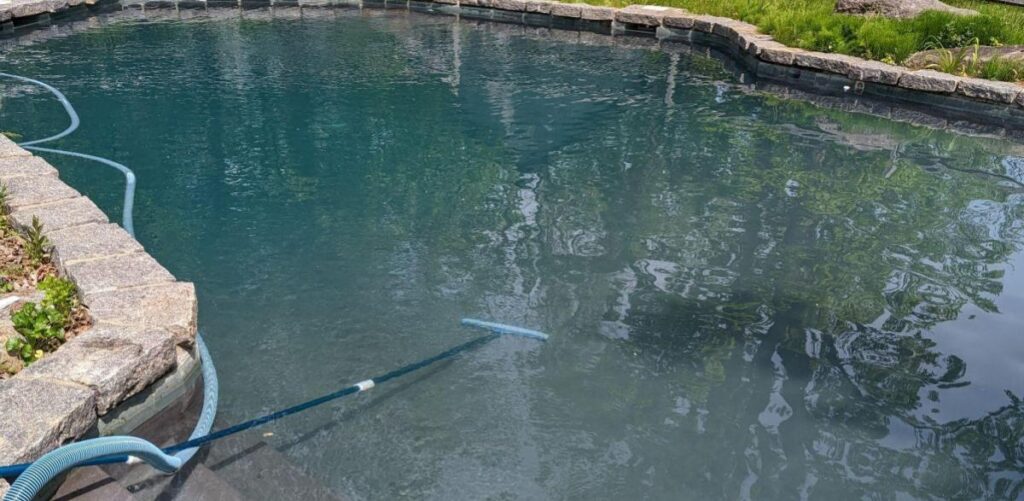
Lastly, attach the pool vacuum head to the pole and the hose to your skimmer. If you use a vacuum plate and skimmer socks, set those up before attaching the hose to the plate.
This process should be slow and methodical to ensure all contaminants get picked up.
At this point, your filter may be full or almost to that point. If your starting pressure is reading 8-10 PSI higher, it’s a good time to backwash or clean it.
If the pool is really dirty, a filter cleaning may need to be done more than once.
Test and Balance the Pool’s Water
Once the pool has been cleaned and the filter has been running, it’s time to start testing and balancing the water.
Accuracy is key for the first test because you want a reliable baseline to understand what chemicals to use. Overdosing CYA, for example, might force you to drain some of the water, which we do not want!
Run a full set of tests with your testing kit, find the baseline, and start adjusting chemicals.
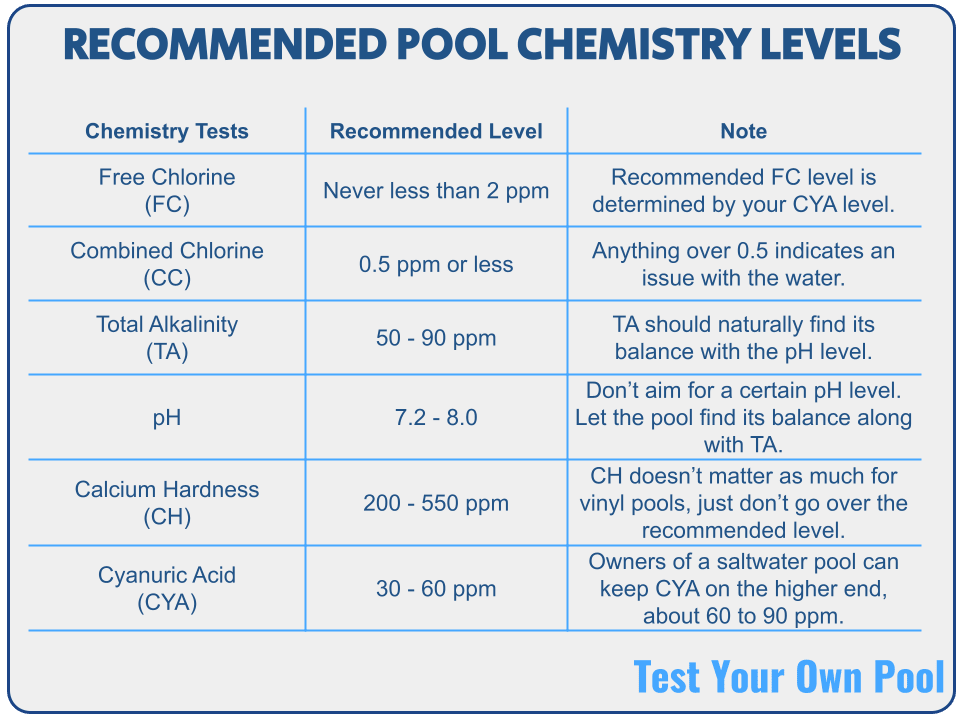
In general, there is no right or wrong way in terms of what to balance first. Go from the test results. If CYA is 0, add a stabilizer so the chlorine doesn’t deteriorate faster. If TA is 0, it will be difficult to balance pH levels.
Remember, it’s not a sprint to balance all levels immediately. Wait 10-20 minutes between chemical additions.
Continuous Monitoring
Congratulations, the pool is officially open! For the next 24 to 48 hours, the pump should be running continuously to keep the water flowing and filter out debris that hasn’t been caught.
Also, remember that if the weather changes to freezing temperatures (very common in the spring), then be sure to run the pool pump 24/7 to keep the water moving.
The water should be clear and ready for swimming within the next day. Keep testing to ensure that the chlorine is holding.
If combined chlorine (CC) levels are above 0.5 ppm and chlorine levels drop pretty significantly after additions, it may mean chloramines are present, and it’s a good time to shock the pool.
You can also verify other water problems that might be happening.
Have a Great Swim Season
Remember, pool opening starts during closing. A properly closed pool will make the opening go much smoother.
Keep testing, maintain the water balance, and make some lasting memories this pool season!
