Calcium hardness (CH) is a chemistry level that gets more attention depending on where you live. Pool owners that live in areas with very hard water may take a closer look at the calcium levels on a daily basis. Considering the only true way to lower it is by partially draining and refilling the pool, knowing how to test calcium hardness is very important.
Consequences of Unbalanced Calcium Hardness
If calcium levels in the water are left unchecked for a long period of time, it can do some serious damage to both the pool surface and equipment.
Pools with too much calcium can start to see the effects of scaling. You might notice white deposits on plaster surfaces, water cloudiness, or poorer water circulation due to filters getting gummed up.
Water that doesn’t have enough calcium will start to aggressively look for calcium from whatever source it can, which is typically your pool surface. This can etch plaster, pit concrete, and dissolve tile grout which causes tiles to pop off easier.
Ideally, owners of a plaster or concrete pool should keep their calcium hardness between 250 and 500 ppm. For fiberglass and vinyl pool owners where calcium isn’t as important, keep it between 100 to 300 ppm
Some fiberglass contains calcium depending on how it is manufactured. So while it isn’t necessarily as critical as a plaster surface, it’s still recommended to have a bit of calcium in the water.
Test Strips Do Not Accurately Test for Calcium Levels
If you want to get proper testing of calcium hardness levels, it is highly recommended to use a liquid-based testing kit. While test strips do test for calcium, they are unable to solely measure calcium levels.
Strips test for total hardness, which is a combination of calcium and magnesium. Magnesium isn’t too important in pool chemistry so strips will rarely give an accurate measurement of calcium in the water. In order to be as reliable and accurate as possible, a testing kit is necessary.
Testing for Calcium Hardness
| Total Time | Supplies Needed | Tools Needed |
|---|---|---|
| 3 Minutes | Water sample from your pool | Testing kit that tests calcium hardness |
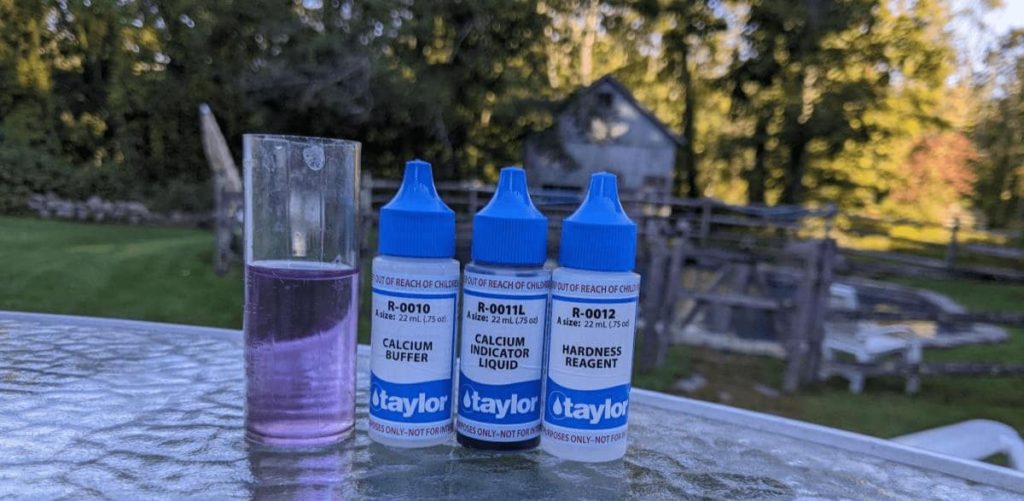
Given the nature of the test, this guide will cover testing calcium levels using a Taylor test kit, specifically the K-2006. Most Taylor kits will have identical reagents and testing procedures when it comes to the different chemistry levels.

Taylor K-2006 Pool Test Kit
The most accurate testing kit currently on the market. Includes FAS-DPD chlorine test and reagents for every chemistry parameter that needs testing.
*As an Amazon Associate, I earn from qualifying purchases at no additional cost to you.
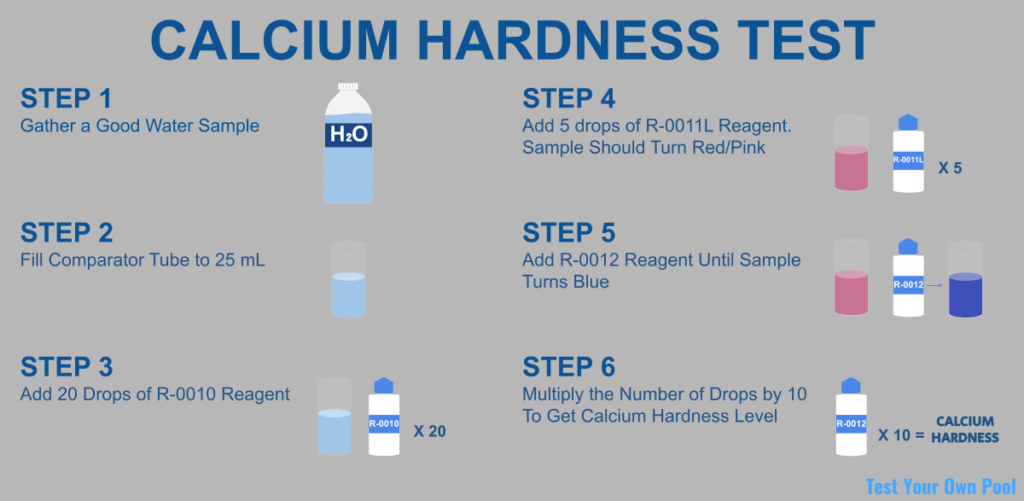
Step 1: Gather a Good Water Sample
You’ll want to gather a sample that closely resembles the current state of the water.
Use the comparator tube or a clean cup and find an area in the deep end that is away from any skimmers or return jets. You want to find an area that doesn’t get too disturbed. Then, insert the cup straight down into the water about elbow deep, creating an air gap. Lastly, turn the cup over until it fills up.
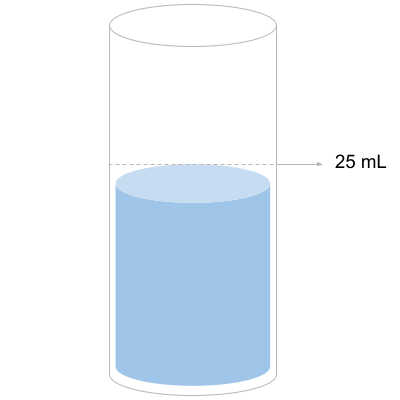
Step 2: Fill Comparator Tube to 25 mL
Make sure the comparator tube is dry and clean of any past tests. Make sure the sample is as close to 25 mL as possible. This ensures the most accurate test.
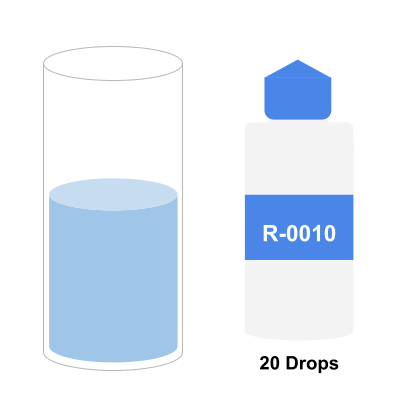
Step 3: Add 20 Drops of R-0010 Reagent
The first reagent we want to add is R-0010, a calcium buffer. This is essentially stabilizing the sample to get it ready for the actual calcium test.
Make sure to count exactly 20 and swirl the sample when completed.
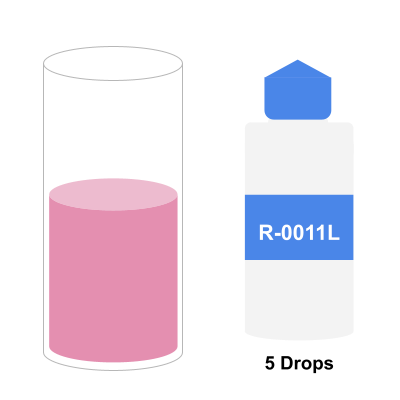
Step 4: Add 5 drops of R-0011L Reagent. Sample Should Turn Red/Pink
R-0011L is a calcium indicator. It lets you know if your pool contains any level of calcium. After 5 drops and swirling, if calcium is present the sample will turn reddish pink.
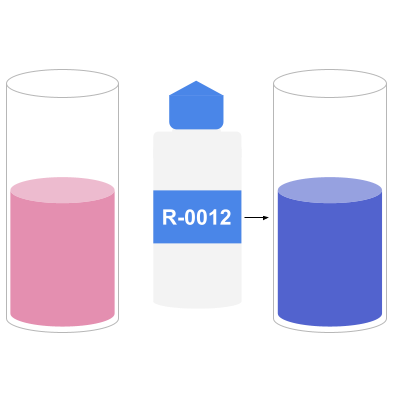
Step 5: Add R-0012 Reagent Until Sample Turns Blue
The last reagent to use is R-0012 which detects the overall hardness of the water. For this test, we want to count each drop until the water sample turns blue. You should be swirling after each drop.
Once you believe your sample has turned blue, add one extra drop to make sure the blue change is permanent. If the sample is unchanged, do not count the last drop.
Tip: There may be an occasion where you get a more purple-looking endpoint instead of blue. This is most typically due to metals like copper in the water that is interfering with the reagents. If this is the case, start the test by adding 5 drops of R-0012, then continue as normal. Remember to count the drops in the beginning towards the end total.
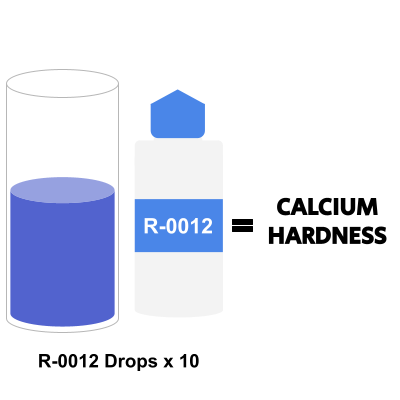
Step 6: Multiply the Number of Drops by 10 to Get Calcium Hardness Level
To find your calcium hardness level, you’ll want to multiply the number of drops from step 5 by 10, and record them as parts per million, or ppm.
As an example, 30 drops would equate to 300 ppm.
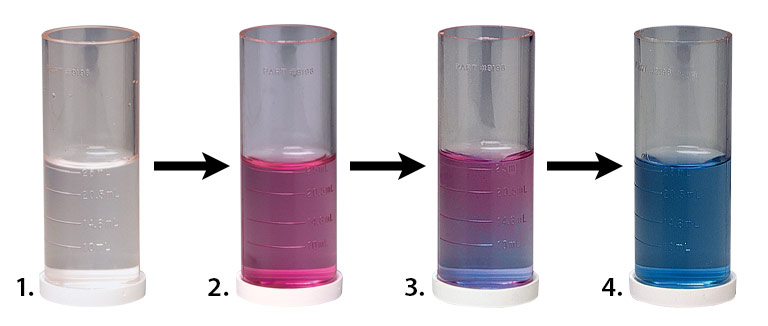
Here is also a visual representation:
Expecting a High Level of Calcium? Run This Test Alteration
If you already know your calcium hardness levels are going to be high, there is no point in wasting reagents and counting 50+ drops. Instead, run this slightly altered test:
- Use a 10 mL water sample
- Add 10 drops of R-0010 reagent
- Add 3 drops of R-0011L reagent
- Add R-0012 reagent until sample turns blue
- Multiply drops by 25
Why is the Calcium Hardness Test Purple?
If your calcium hardness test is purple instead of red at the start of the test, this means that you have a low CH level.
Using R-0011L dye on the sample will turn the sample red if calcium is present in the water and only turns blue when there is no hardness. A purple color is somewhere in between those two instances, the dye still reacts with the calcium in the water but it’s not as strong as the 20 drops exceeds the overall calcium level in the water.
Balancing Calcium Hardness Levels
After your testing is done, if levels are not in the recommended range calcium will either need to be raised or lowered.
To lower calcium hardness levels, water needs to be lowered and refilled, preferably with water that is less hard than the pool.
Calcium can be raised by calcium chloride, commonly found as deicers and ice melts in most big box stores. If you are not in a climate that typically requires ice melt, most pool stores sell calcium chloride as Calcium Hardness Increaser or Hardness Plus.
Happy Testing!
Because calcium levels don’t change too much, testing hardness levels monthly is acceptable. Just be mindful and understand that calcium problems don’t just happen overnight. It is a slow build-up to any widespread issues.
As long as you stay on top of testing, the issues should never arrive at your pool!